We may earn money or products from the companies mentioned in this post.
Needing a spring activity to do do with the kiddo(s) while staying put at home? I have just the thing!
Being a work-from-home mom, there are days when it’s not ideal to have to leave the house. Work can overflow into life and it is what it is! On those particular days, I have to get creative with my toddler and conjure up some toddler friendly activities.
This week, I created an activity that was both fun and educational. It incorporated some science and some art. Being able to do this activity together made me even more excited!
We Made Colored Oats!
Colored oats are just that- colored oats! We took some simple, every day kitchen items and created a spring activity.
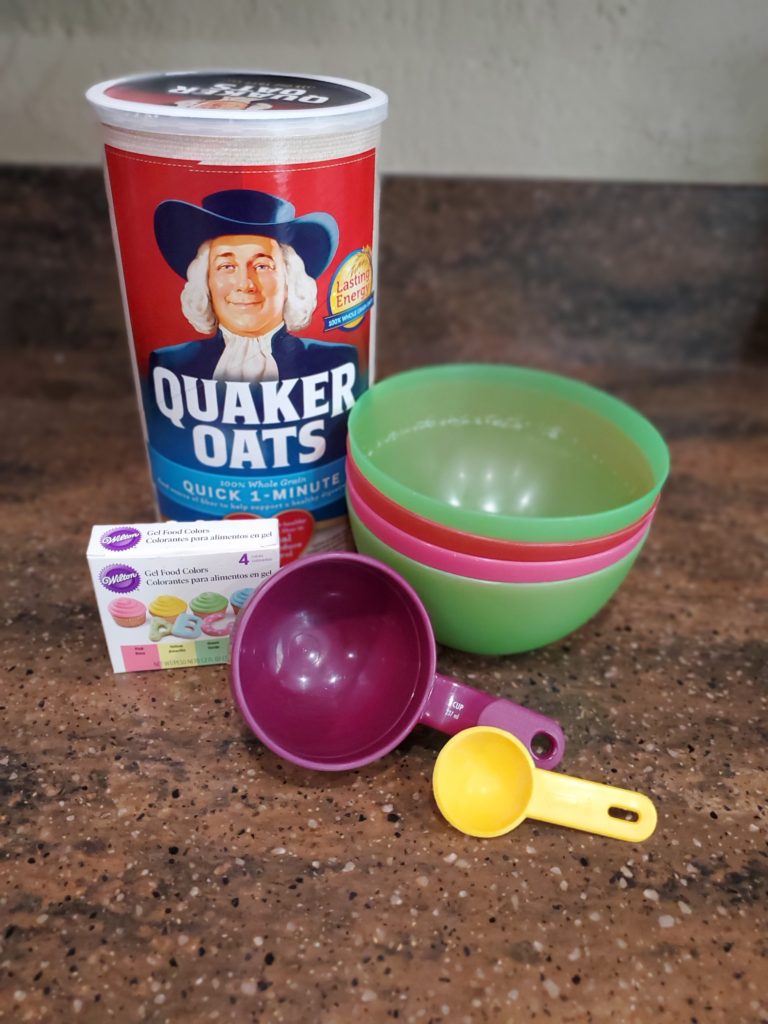
I grabbed some of the oatmeal oats from our container of Quaker Oats, some food coloring, and some water! Pretty easy, right?
Let’s Get Started!
Depending on how many colors of oats you want to make, this recipe could differ. Just so you have a reference, we made four different colors of oats. For each color, we used:
- 1/2 a cup of oats
- 1 and 1/2 tbsp water
- 10-12 drop of food coloring
- Wax paper or paper towels
- Cookie sheet or large tray
- Bowls
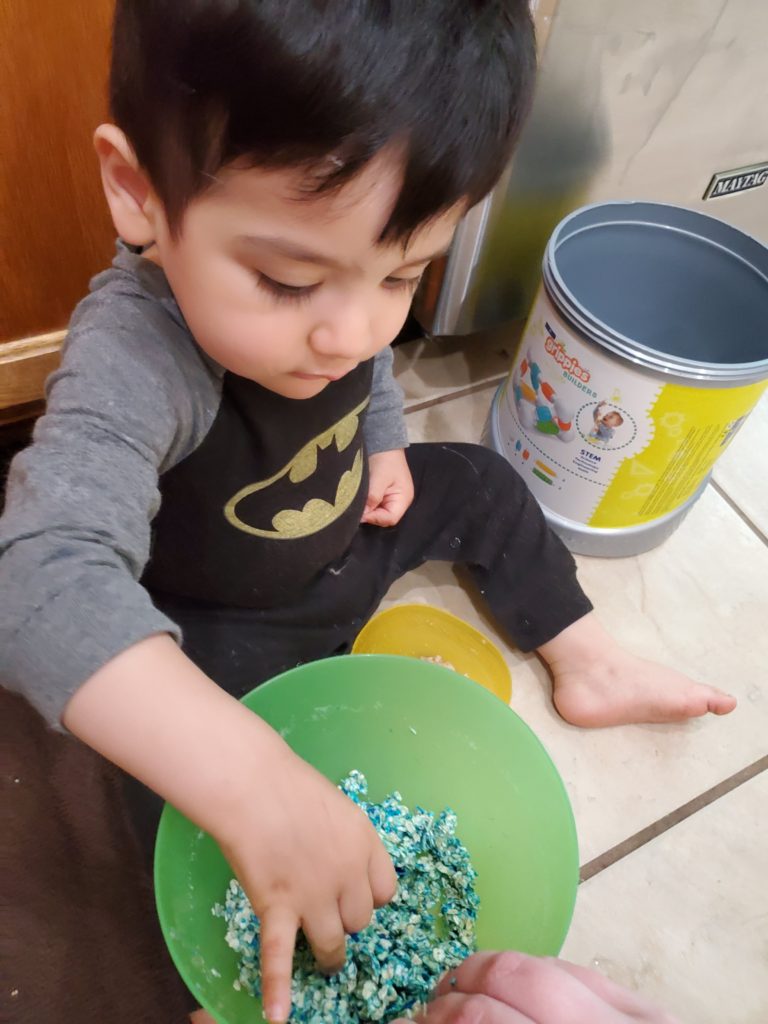
We put the 1/2 cup of oats into a bowl. Then, we added the water to the oats followed by the food coloring. The real fun came next; mixing it all together!
It was fun to include my toddler in this part especially so that we could incorporate some of that sensory exploration in there. He was also able to witness the oats changing into various shade of blue, green, yellow, and pink. Where there is fun, there is learning!
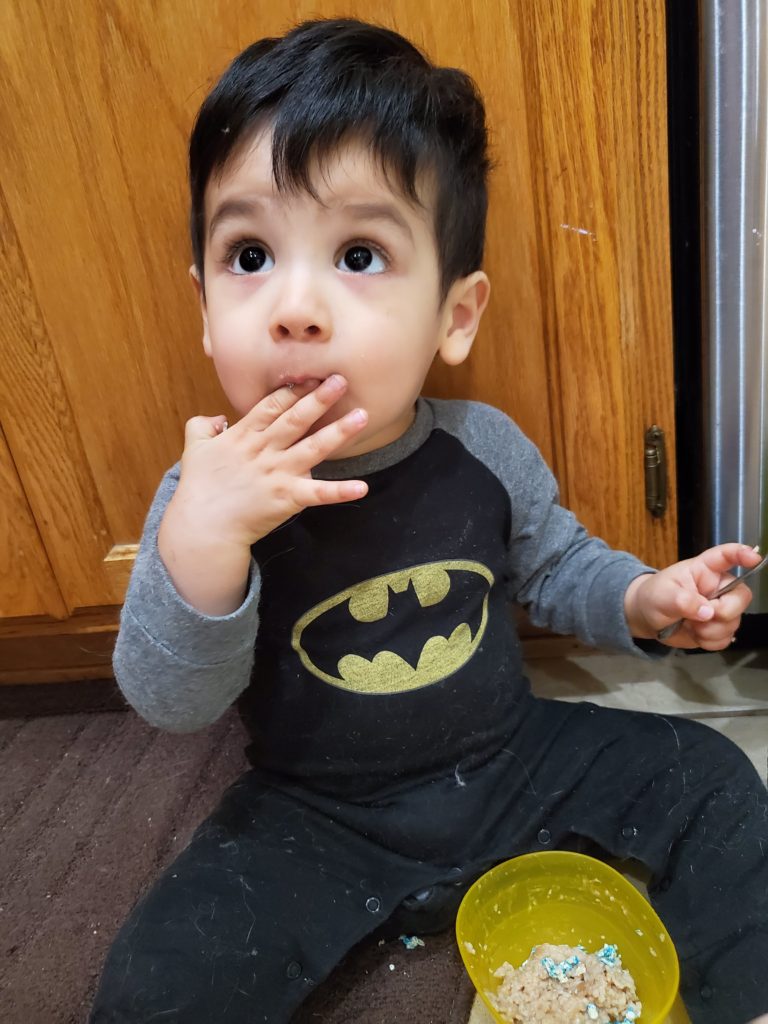
Of course, he also had to taste test the magical oats to make sure they were good enough for the job! 😉
What Came Next?
After all the mixing was complete, we had four bowls with oats in them. Each bowl was designated a specific color. We turned out to have blue, yellow, green, and pink oats. To add more fun, try mixing the food coloring to get even more colors for the oats!
Wax paper was used for this next part. However, you could use paper towels if you don’t have wax paper on hand. We laid out the wax paper onto a cookie sheet (or large tray) and one bowl at a time, we scooped out the oats onto the wax paper.
Then, we placed the tray outside to let the oats dry out. I initially set my timer for an hour, but the blue oats seemed to take a little longer to dry. I ended up adding an additional 20 minutes for the blue oats to dry. It’s possible that I used more of the blue food coloring for the blue oats to get a more vibrant color causing the oats to essentially be more wet than the other colors.
While waiting, we passed the time by playing outside. My son has really gotten into his soccer ball lately and loves being outside with it. Plus, what’s not to love about being outside on a nice, sunny, breezy spring day? Barefoot and all!

Time is Up!
Once I checked to make sure the blue oats had dried enough, we brought our cookie sheet with oats back inside to make sure everything went according to plan.
The oats were dry, but it is worth mentioning that some of the oats dried in clumps. Therefore, I had to break them apart. This was not an issue, but just wanted to make sure to mention it!
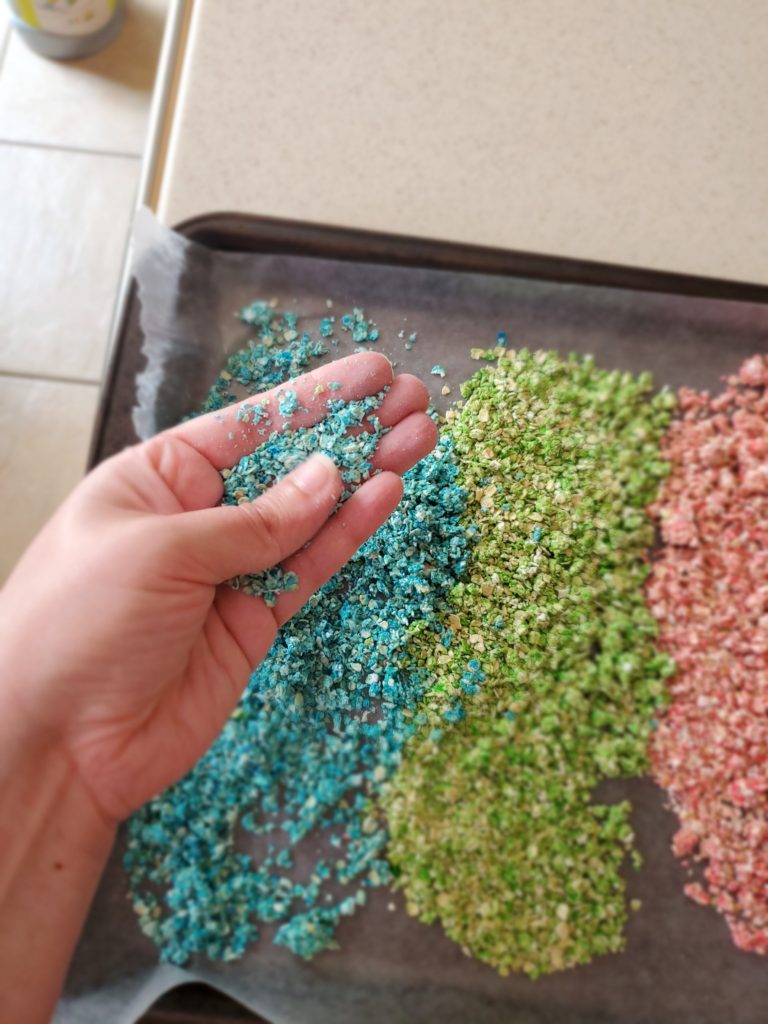
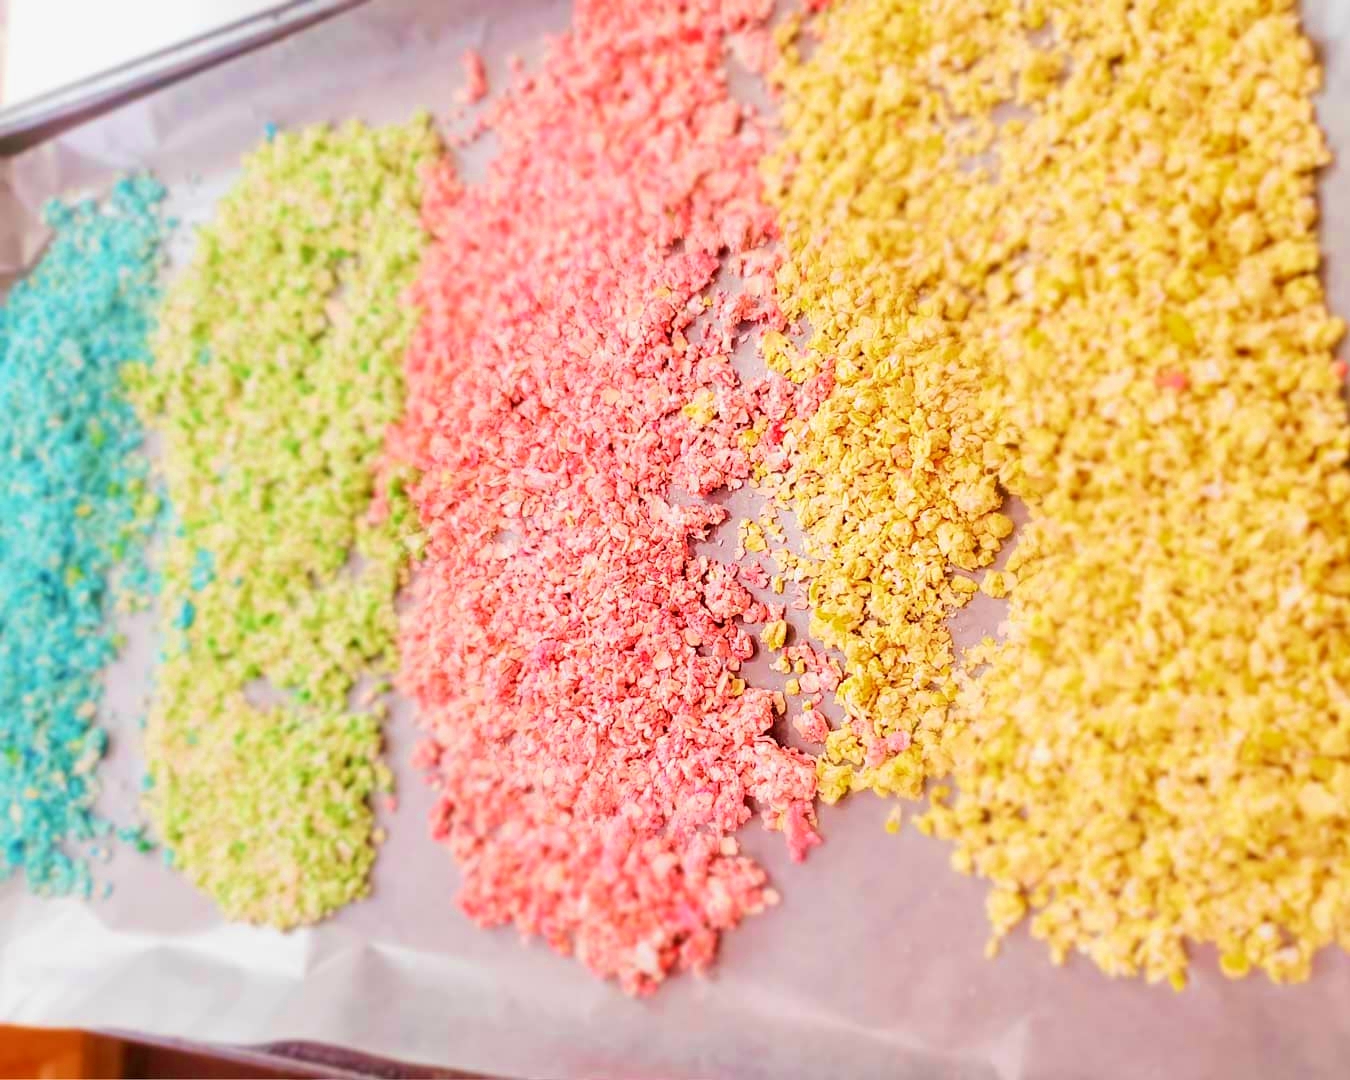
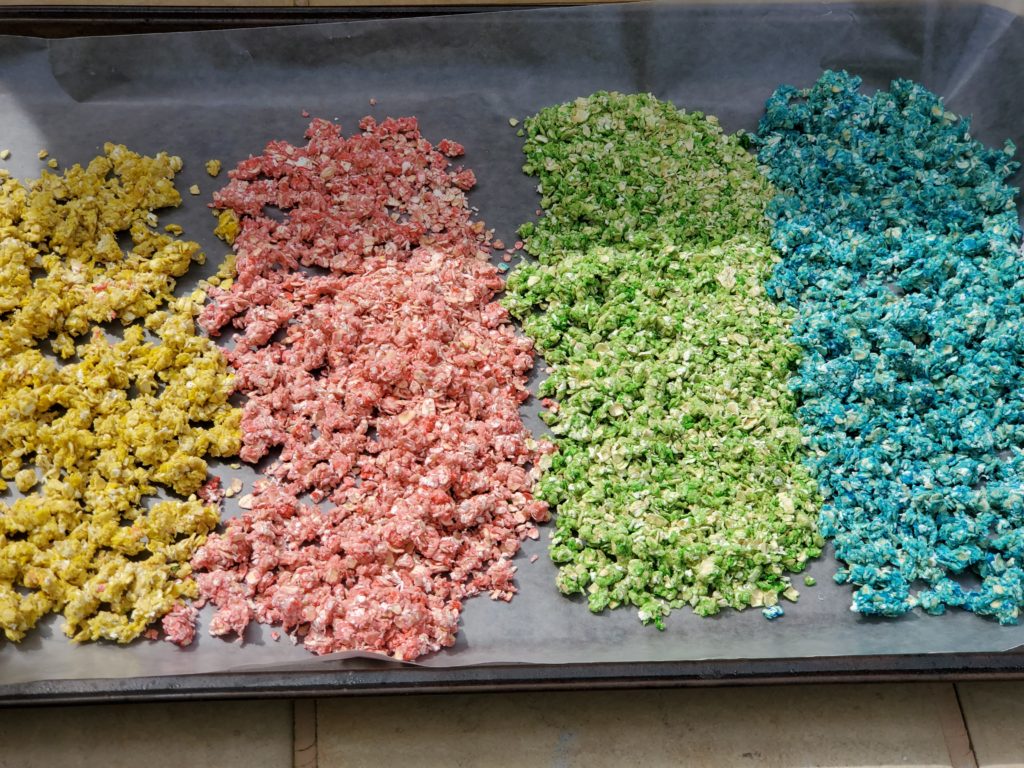
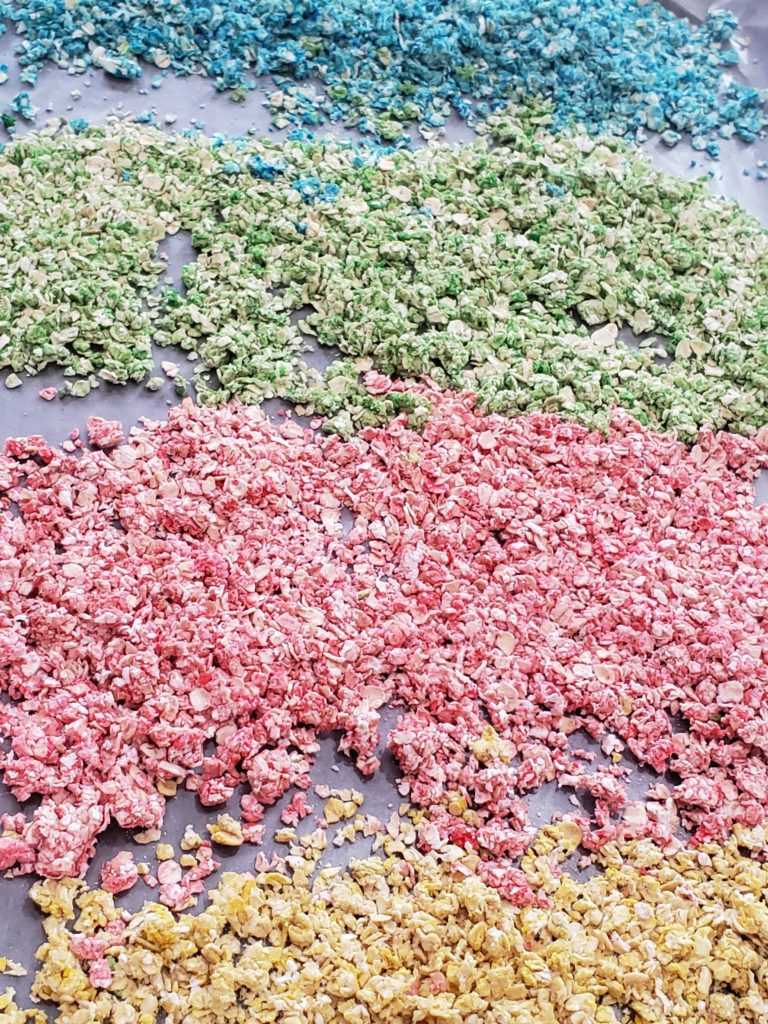
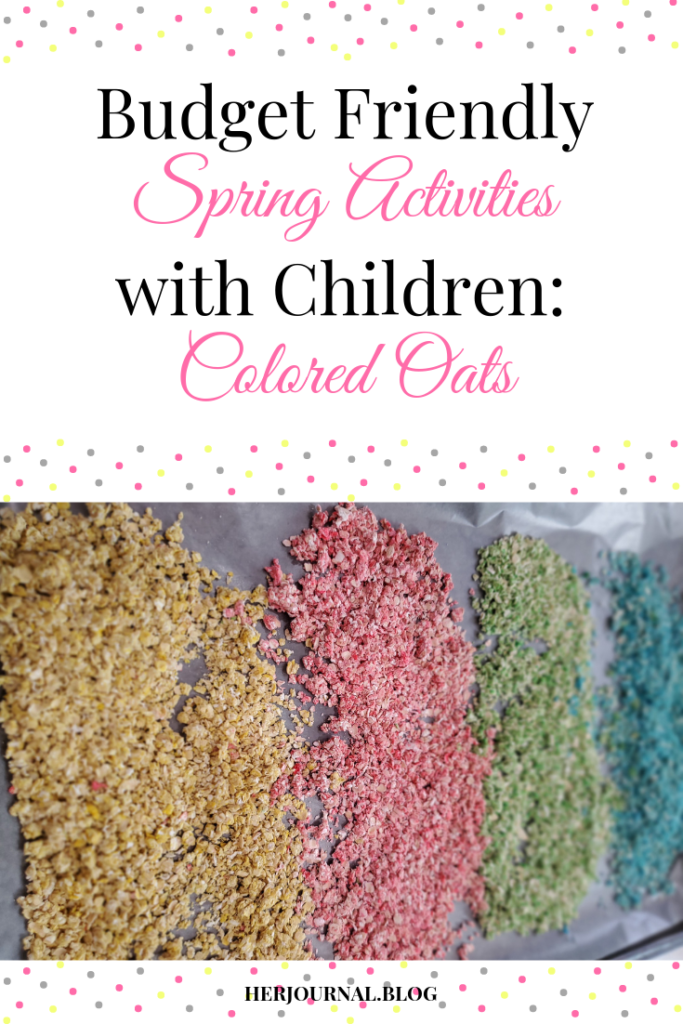
In the end, we had a beautiful row of vibrantly colored oats! My son is famous these days for his surprised reaction face and saying, “Oooooh!” at just the right moments. Seeing these colored oats and touching them was another perfect moment for his famous reaction!
Now What?
Well… now you can do whatever you want with them! You can use the oats in a sensory bin as an opportunity for tactile exploration. You can put the oats in Ziplock bags being separated in colors or mixed together and use them as a sensory exploration opportunity. The oats may be incorporated into an art project where you use them with glue to stick onto some art.
For us, we chose a less messy avenue. Again, my son is 16 months old so everything either goes into the mouth or gets thrown somewhere at this age. This mama doesn’t need another mess to clean up!
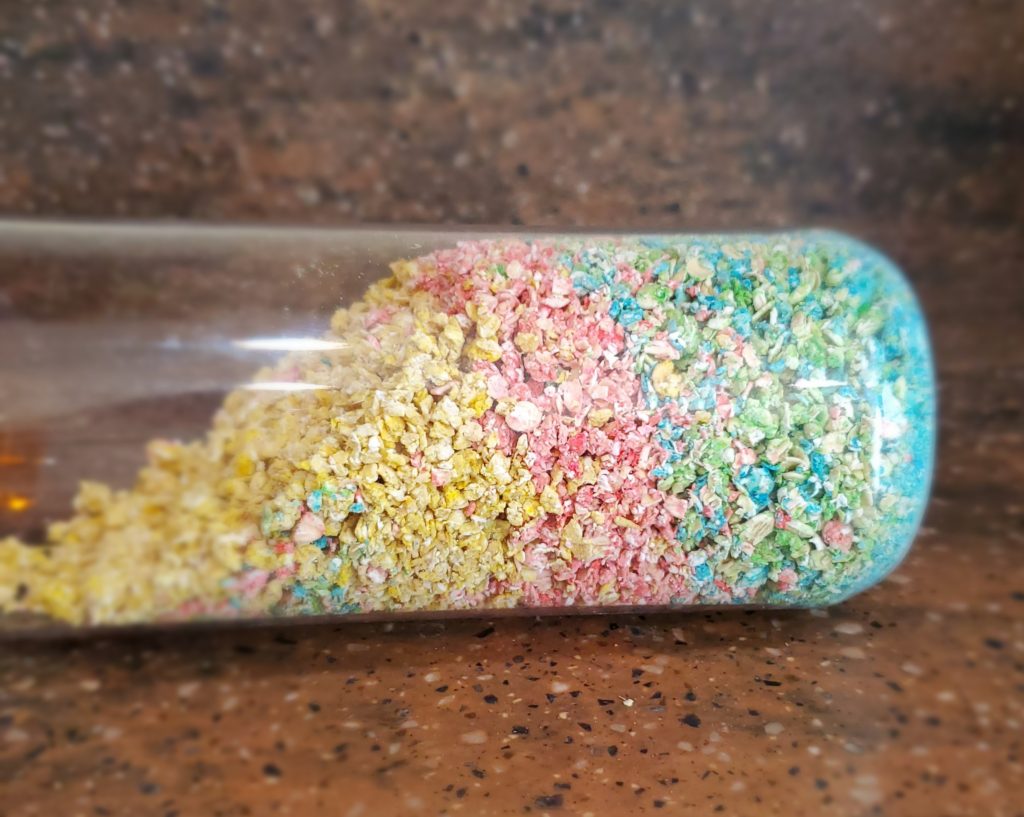
So we opted for mixing the oats together into a plastic bottle so that now it is a sensory bottle. My son picks up the bottle and begins shaking it to hear the oats clashing against each other and against the sides of the bottle. I think he believes this sound is like music because he starts bouncing around like he usually does when hearing actual music playing!
Sound Easy Enough?
What do you think of this activity? I wanted to make sure that this activity could be done with young toddlers as there doesn’t seem to be too many activities out there geared towards these little learners. Would you be able to try this activity with your kiddo(s)? I’d love to hear of your experience in the comments below(successful or questionable experiences all the same)!
Always,
Samantha <3
Pin It!


6 Comments